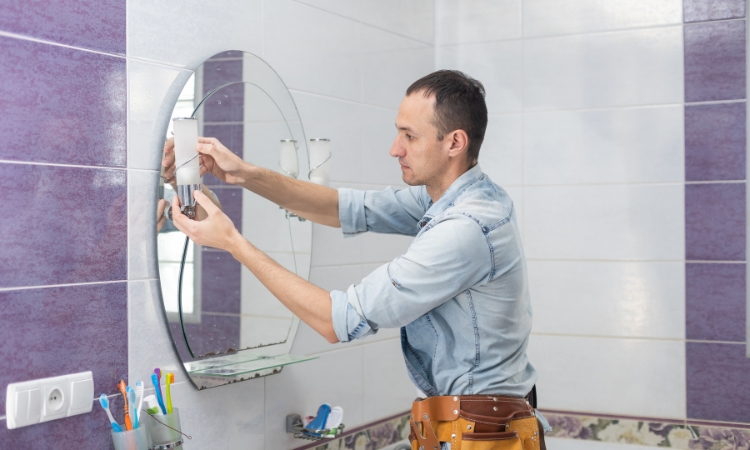
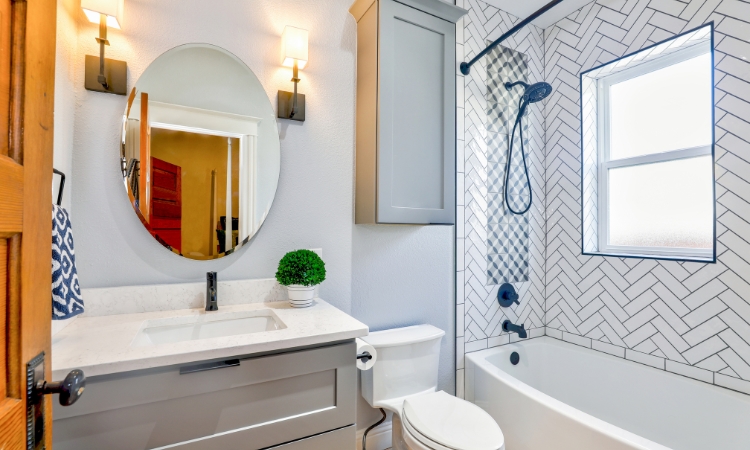
It adds functionality with style if you install a mirror in a bathroom. Installing a bathroom mirror might seem like a daunting task, but with the right tools and a bit of guidance, it can be a straightforward DIY project. This guide will walk you through the process step-by-step, ensuring that you can confidently and safely install a mirror in your bathroom.
How to Install a Mirror?
Installing a mirror in bathroom can enhance the space, provide additional light, and offer a practical solution for daily grooming routines. Bathroom mirror installation in Singapore requires some essential tools, proper knowledge, and information about the regulations. Gather the tools and ensure you hang a bathroom mirror securely. This section is your ultimate guide to install a bathroom mirror in Singapore.
Step 1: Gather Your Tools and Materials
Before you start, ensure you have all the necessary tools and materials. Here’s what you’ll need:
- A mirror
- Measuring tape
- Level
- Pencil
- Drill
- Wall anchors
- Screws
- Screwdriver
- Stud finder
- Painter’s tape
- Safety gear
Having everything at hand before you start will make the process smoother and more efficient.
Step 2: Measure and Plan
Begin by determining the best location for your mirror. Typically, the mirror is centred above the bathroom sink or vanity. Use your measuring tape to find the centre point of the sink or vanity and mark it on the wall with a pencil.
Next, measure the height where you want the bottom of the mirror to be. A common height is 5 to 10 inches above the sink, but this can vary based on personal preference and mirror size. Mark this height on the wall.

Step 3: Find and Mark Studs to Install a Mirror
Using a stud finder, locate the studs on the wall and mark their locations with a pencil. Studs provide the best support for heavy objects like mirrors. If your mirror’s mounting points do not align with the studs, you will need to use wall anchors.
Step 4: Level and Mark the Mirror Position
Hold the mirror up to the wall at your marked height and centre point. Use a level to ensure the mirror is straight. While holding the mirror, mark the top corners and the mounting points on the wall. If the mirror is heavy, it might be helpful to have someone assist you.
Step 5: Install Wall Anchors or Mounting Brackets
If your mirror does not align with the wall studs, install wall anchors at the marked mounting points. Drill holes into the wall at your marks, insert the wall anchors, and then lightly tap them into place with a hammer.
For mirrors with mounting brackets, install the brackets according to the manufacturer’s instructions. Secure the brackets to the wall using screws, ensuring they are level and aligned with your marks.
Step 6: Hang the Mirror
With the wall anchors or brackets in place, it’s time to hang a bathroom mirror. Carefully lift the mirror and align it with the mounting points or brackets. Secure the mirror to the wall by tightening the screws into the wall anchors or attaching it to the brackets. Ensure the mirror is level and firmly in place.
Step 7: Double-Check and Adjust
After hanging the mirror, take a step back and ensure it is level and centred. If adjustments are needed, loosen the screws slightly, reposition the mirror, and tighten the screws again. Verify that the mirror is securely mounted and does not wobble.

Step 8: Enlist Professional Assistance if Needed
If you are a DIY enthusiast, this guide will help you a lot. However, if you need professional assistance, PS Home Maintenance is your best mate with its services like carpentry, demolition, and appliance repair services. In Singapore, you need to carefully consider the regulations before doing a home maintenance task. Therefore, a professional can be of great help.
Conclusion
It can be a rewarding DIY project to Install a bathroom mirror that enhances the functionality and aesthetics of your space. By following these steps, you can ensure a secure and professional-looking installation. With the right preparation and careful execution, you’ll have your new mirror up in no time, ready to brighten your bathroom and provide a practical tool for your daily routine.
