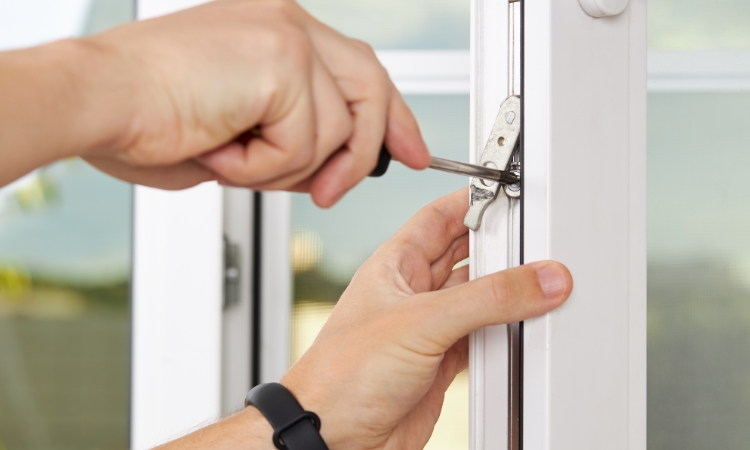
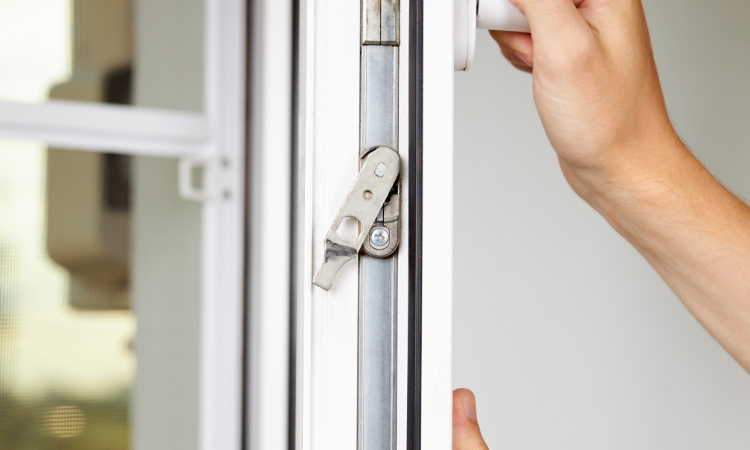
Window hinge repair ensures your house remains up-to-date and in order. Windows are the source of natural light to your house and connect you to the outside world. However, the hinges can be damaged and malfunction. Therefore, the door does not open and close properly. This article aims at providing the proper guidance to repair a window hinge without damaging the door. The versatility of this article makes it a go-to guide for all kinds of windows like a casement window, awning window, or any other type that uses hinges.
Window Hinge Repair Singapore
Singapore’s humid atmosphere makes the window hinges susceptible to rust and subsequent wear. Regular maintenance is a key to keep them in pristine conditions. Homeowners rush to repair window hinges and do not understand the process. It is a DIY process but to fix window hinges without a professional background, you need a set of instructions.
PS Home Maintenance Singapore, a veteran in window handle replacement, window gasket & rubber seal replacement, and window tinting and removal services provides a guide for DIY enthusiasts for window hinge repair.
How to Repair a Window Hinge?
A window hinge repair process is easy if you keep the right tools and stick to the expert tips. Let’s go explore the process.
Tools and Materials Needed
Before you start the repair, gather the following tools and materials:
- Screwdrivers
- Replacement hinges
- Drill and drill bits
- Screws
- Lubricant
- Cleaning cloth
- Safety gloves and goggles
1. Assess the Damage
The first step is to estimate the damage and check if the hinges are rusty or broken. For the rusty hinges, you will need to lubricate them and for damaged or broken hinges, you will most probably need a replacement.
2. Remove the Window
For proper inspection and repair, you may need to remove the window from the frame. But this step depends on your window type. Usually, you will unscrew the hinges while someone holds the window so that it does not fall.
3. Remove the Old Hinges
Once you remove the window, place it on a flat surface. Use a screwdriver to remove the screws holding the old hinges. Keep the screws, if they are reuseable. You may need to use them again.
4. Clean the Area
After removing the hinges, thoroughly clean the area around the hinges and use a cloth or some cleaning solution to eliminate the dirt and rust. This is for creating a smooth pathway for the installation of the new hinges.
5. Install the New Hinges
. You know the place the old hinges were connected to, place the new hinges, and use the old or new screws to attach them to the window. Start by hand-tightening the screws to ensure the hinges are properly aligned, then use a drill or screwdriver to fully secure them.
6. Reattach the Window
Carefully lift the window and put it back into place. Proper alignment of the hinges with the slots is essential for the smooth operation of the window. You may need an assistant to hold the window during the process.
7. Test the Window
Once you have replaced the hinges, you have done half the work. Now, it’s time to test the new hinges for their functionality. If the window does not function smoothly, you will need more adjustments with the newly installed hinges.
8. Lubricate the Hinges
Precautions are better than cure, you should keep the hinges in good condition to avoid facing such issues in the future. Clean the area properly and use lubricants to keep them in good condition.
9. Final Adjustments
If the window is not functioning properly, you will need adjustments. For that, you have to loosen the screws and adjust the hinges and ensure they are perfectly in place.TIghtne the screws again to attach the hinges firmly and test the window functionality.
Conclusion
In conclusion, window hinge repair is a simple DIY method if you follow the instructions properly. You need to make sure the hinges are not broken and check their alignment, lubricate them properly, and test the functionality. Regular maintenance and timely repairs will help keep your windows in good condition, providing you with years of reliable service. With a little effort, you can maintain the comfort and functionality of your home.


