It seems daunting to replace door hinges, but with a few simple steps and the right tools, you can do it yourself. Door hinges are an important component that controls the door swing. Therefore, their working is crucial in the proper working of the door. This article walks you through the process of replacing door hinges in Singapore.
How to Replace Door hinges?
Door hinges are essential components that control the swing of the door. Over time, they can wear out and break. This can cause your door to not function properly. Replacing door hinges is a straightforward DIY project that can save you money and improve the functionality of your door. The following subsection writes the tools required for door hinges replacement in Singapore.
Tools and Materials Needed
As per PS Home Maintenance Singapore, an expert in door knob replacement, locksmith services, and door frame repair, you will need the following tools and materials to replace door hinges:
- New door hinges
- A screwdriver
- Screws
- A hammer
- A chisel
- A utility knife
- A tape measure
- A pencil or marker
- A level
- Wood filler
- Sandpaper
Step-by-Step Guide to Replace Door Hinges
Step 1: Choose the Right Hinges
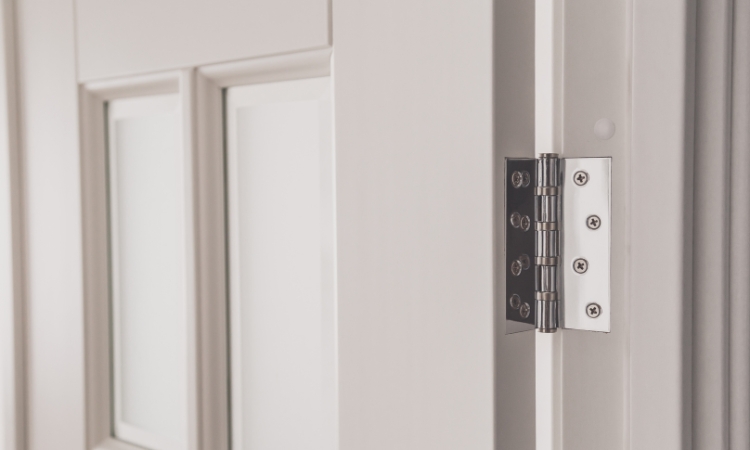
The first step is to select the right hinges for your door. Hinges are available in different sizes and designs. Take the measurements of the existing hinges and bring the new hinges of the same size. Common hinge sizes are 3.5 inches and 4 inches. Moreover, select the material and finish that complements your door and home decor.

Step 2: Remove the Old Hinges
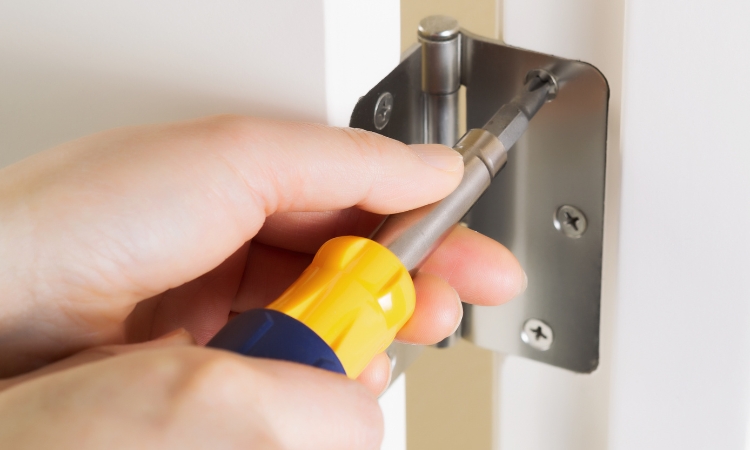
Before removing the hinges, make sure your door is safe and will not fall when you remove the hinges. Use a screwdriver to remove the screws from the hinges on the door and the door frame. It is recommended to start with the bottom hinge and work your way up. Once all the screws are removed, Take the hinges out of the door and frame.
Step 3: Prepare the Door and Frame
Use wood filler to fill the screw holes if the new hinges are different in measurements than the old ones. Let the filler dry completely and sand it to smoothen the surface. Ensure the hinge leaf size aligns perfectly with the allotted slot.
If they need any adjustment, adjust them using suitable tools. For instance, if the slots are too shallow, use a hammer and chisel to deepen them carefully. On the contrary, if they are deep, use a wood filer to adjust the depth.
Step 4: Attach the New Hinges
It’s now time to replace the door hinges. Put the new hinge in the slot on the door and mark the screw holes. Make small pilot holes at the marked spots to prevent the wood from splitting when you put the screws.
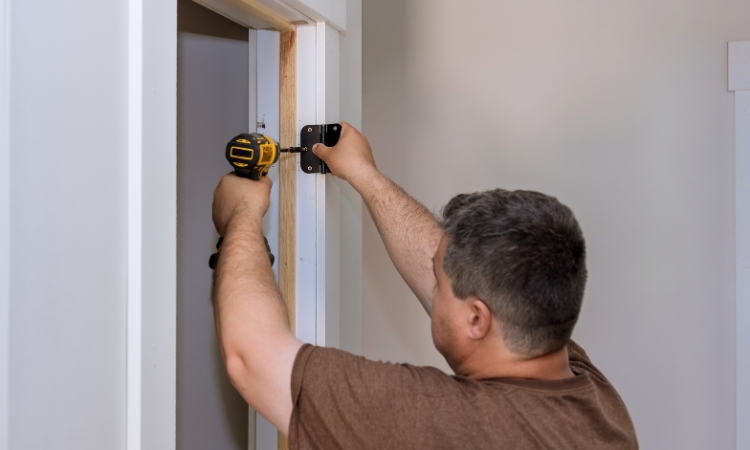
Align the hinge with the pilot holes and tighten it with screws. Start with the top and bottom screws to ensure the hinge stays in place. Repeat the process to connect the hinges to the door frame.
Step 5: Hang the Door
Align the hinges on the door with the hinges on the frame. Tighten the screws to attach the door to the frame. You may need a helping hand in this step to hold on to the door and prevent it from falling.
Start with the top hinge, ensure the door is balanced and aligned properly before fully tightening the screws. Repeat for the remaining hinges and check that the door swings smoothly.

Step 6: Final Adjustments
Check all the screws to ensure they are tight. Loose screws can result in the door sagging or not functioning properly. Ensure there are no large gaps between the door and the frame. Make minor adjustments to the hinge positions if necessary to complete a successful project.
Conclusion
In conclusion, It is a manageable DIY task to replace door hinges. Replacing door hinges is an effective way to maintain the functionality of your doors. The above steps can guide you to easily replace your door hinges and ensure your doors operate smoothly. Regular maintenance is the key to extending the life of your door hardware.
