Install a wired doorbell and enjoy a seamless interaction with your neighbors and other people you want to. A wired doorbell is a reliable and long-lasting way to ensure you never miss a visitor at your home. Unlike wireless doorbells, which rely on batteries, a wired doorbell connects directly to your home’s electrical system.
This is a more conventional but reliable mode of power source. Installing this type of doorbell may seem complicated, but with the right tools and clear steps, it is a straightforward process. This guide will walk you through how to install a wired doorbell in Singapore easily and safely.
The Importance of Wired Doorbell Installation
A wired doorbell is a great choice for homeowners who want a stable and durable option. It eliminates the need to replace batteries and provides better sound quality than wireless models. Many wired doorbells also come with extra features, such as multiple chimes and volume control.
If your home does not already have a wired doorbell, you can install one with a bit of effort. PS Home Maintenance Singapore offers wired door repair, CCTV cameras, and access control system installation, repair, and control in Singapore. Moreover, they provide a step-by-step guide to help you install a wired doorbell without professional assistance.
How to Install a Wired Doorbell in Singapore?
Here are the steps for installing a wired doorbell in Singapore.
Step 1: Gather the Necessary Tools and Equipment
Before starting, make sure you have all the tools and materials needed for installation. You will require a screwdriver, drill, wire stripper, voltage tester, and electrical tape. The doorbell kit should include a transformer, chime unit, and push button.
Ensure you purchase a transformer that matches the voltage requirements of your doorbell. Most doorbells in Singapore operate on 8 to 24 volts.

Step 2: Turn Off the Power
Before working with electrical wiring, switch off the power supply at the circuit breaker. Use a voltage tester to confirm that the wires are not live. This step is essential for safety. Never attempt to work on electrical wiring when the power is still on.
Step 3: Install the Transformer
The transformer reduces the standard household voltage to a lower voltage suitable for the doorbell. If your home does not have an existing transformer, install one near the main electrical panel and junction box.
First, mount the transformer securely on the wall. Next, connect the transformer wires to the household power supply. Attach the live and neutral wires correctly. Moreover, ensure that they are not loose to avoid sparking. After this, connect the low-voltage wires that will run to the chime unit.
Step 4: Install the Chime Unit
The chime unit produces the sound when someone presses the doorbell button. Choose a location inside your home where you can hear the chime. Some common places for chime are hallways or living rooms.
Once you have chosen a location, mount the chime unit on the wall. Most chime units have terminals labeled as “Front,” “Trans,” and “Rear.” Connect the transformer wire to the “Trans” terminal and the doorbell button wire to the “Front” terminal. If you have a second doorbell button for the back door, connect its wire to the “Rear” terminal.
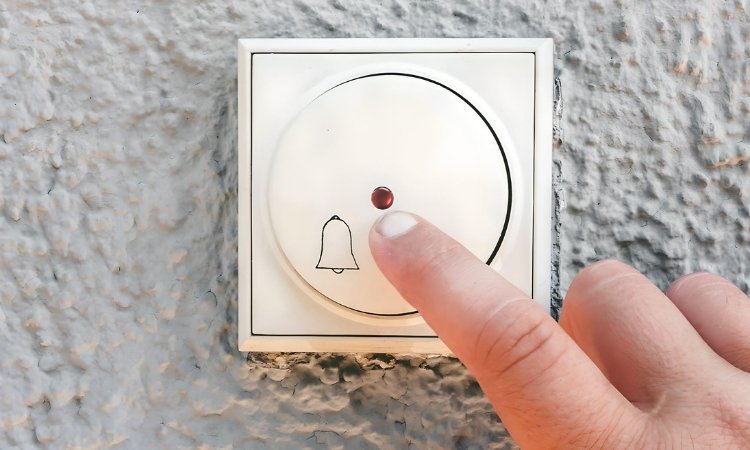
Step 5: Install a Wired Doorbell Button
The doorbell button is usually placed near the front door. Choose a place on the front door where visitors can easily reach it. If your home has an existing doorbell button, remove it first.
To install the new button, attach the wires to the terminals on the back of the button. There are usually two terminals, and it does not matter which wire connects to which terminal. Secure the button to the wall using screws. If drilling is required, ensure the hole is slightly smaller than the screws to keep the button tight.
Step 6: Connect the Wiring
Now that all components are in place, connect the wiring to complete the circuit. Take the low-voltage wires from the transformer to the chime unit and the doorbell button. Moreover, keep the wires along the walls or inside conduits to protect them. Use electrical tape to cover any exposed wire ends.

Step 7: Restore Power and Test the Doorbell
Once all connections are done, turn the power on at the circuit breaker. Press the doorbell button to check if the chime unit rings. If it does not work, check the wiring connections. Ensure all wires are correctly connected and that the transformer is supplying power.
Step 8: Secure and Organize the Wiring
After testing the doorbell, tie up the hanging wires and secure the route. Moreover, secure any loose wires along walls or within conduits to prevent damage. This step helps keep your installation perfect.
Conclusion
With thoughtful planning, it is easy to install a wired doorbell in Singapore. With a bit of patience, you can set up a doorbell that will work efficiently for years. A wired doorbell provides a reliable way to be alerted when someone is at your door. Regular maintenance and occasional checks will ensure it continues to work well.