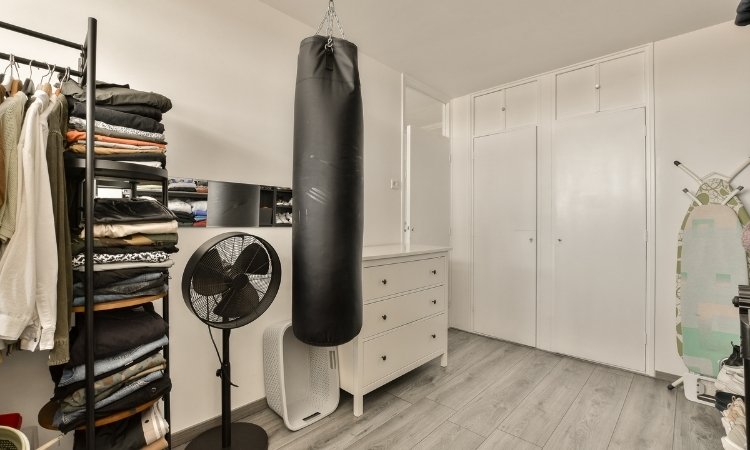
If you hang a heavy punching bag at home, it is an excellent addition to your home gym and offers a convenient way to improve your fitness. However, hanging a heavy punching bag requires proper planning and the right tools.
This is essentially crucial in a country like Singapore, where residential spaces may have unique structural considerations. In this guide, we’ll walk you through the process step by step and ensure safety and stability for your setup.
How to Hang a Heavy Punching Bag?
Hanging a heavy punching bag in Singapore is a challenging task unless you follow the below instructions. With proper guidance and essential tools, it is easy to hang a punching bag in Singapore.
PS Home Maintenance Singapore explains the step-by-step process for hanging a punching bag in Singapore. Moreover, they provide carpentry services, painting services, and plumbing services in Singapore.
Step 1: Choose the Right Location to Install a Heavy Punching Bag
The first step in hanging a punching bag is to identify a suitable location for it. Ideally, this place should be spacious enough to have room to move around the bag without hitting walls or furniture.
Moreover, this place should be structurally sound and away from fragile home items. In Singapore’s HDB flats or condominiums, you’ll need to check whether the structure can support heavy loads and avoid drilling in restricted areas.

Step 2: Select the Right Mounting Option
There are two primary methods to hang a heavy bag:
a. Ceiling Mount
If you choose a ceiling mount, ensure that the beam can hold the bag’s weight, which usually ranges from 40 to 100 kg. A strong ceiling mount kit typically includes hooks, bolts, and chains.
b. Wall Bracket
A wall-mounted bracket is another suitable option if your walls are strong enough to bear the load. Buy a high-quality bracket designed for heavy bags and ensure it’s installed on a concrete wall. Moreover, avoid using drywall or hollow partitions. The residents of HDB flats will need permission from the Housing & Development Board (HDB) for modifications that involve drilling into structural elements.
Step 3: Necessary Equipment to Hang a Heavy Punching Bag
To ensure a smooth installation, gather the following items beforehand:
- A stud finder.
- Drill with masonry or wood bits.
- Wrench.
- Heavy-duty screws and anchors.
- Punching bag chains or straps.
- Ladder.
Step 4: Locate and Mark the Mounting Point
Use a stud finder to find a ceiling beam capable of supporting the punching bag. Mark the spot using a pencil. For ceiling mounts, you need to choose the central point and make sure the height is enough for the bag to move freely.
On the other end, for wall-mounted brackets, you need to position the bracket high enough so the bag hangs at chest or head height. Moreover, it is also essential to provide sufficient clearance from the wall.
Step 5: Drill and Install the Mounting Hardware
The next step is to drill and install a heavy punching bag. Here are the instructions for both mounting types.
Ceiling Installation
- Drill holes into the marked beam.
- Properly fasten the hook.
- Ensure all screws and bolts are tightly fastened to prevent accidents.
- Connect the bag using sturdy chains.
Wall Installation
- Drill holes in the wall at the marked points.
- Attach the bracket using heavy-duty screws and anchors.
- Ensure all screws and bolts are tightly fastened to prevent accidents.
- Connect the punching bag using sturdy chains.

Step 6: Test the Setup
Before starting your workout, test the stability of your punching bag. Pull and push it several times to confirm it’s properly installed. Ensure there’s no wobbling or loosening of screws.
Step 7: Add a Protective Layer
To minimize noise and vibration, add shock-absorbing pads between the mount and the wall or ceiling. This is particularly useful in Singapore, where close proximity housing may cause noise concerns for neighbors.
Step 8: Regular Maintenance
Once your punching bag is installed, perform regular checks to ensure all bolts and hooks remain tight. Over time, vibrations from use can loosen fittings. Tighten them as needed to prevent accidents.
Conclusion
It is an exciting self-improvement task to hang a heavy punching bag at your home. Hanging a heavy punching bag in Singapore is entirely achievable with the right tools and careful planning. By following the steps outlined, you can create a safe and effective setup for your fitness routine. Remember to prioritize safety and structural integrity to avoid damage and injuries.
