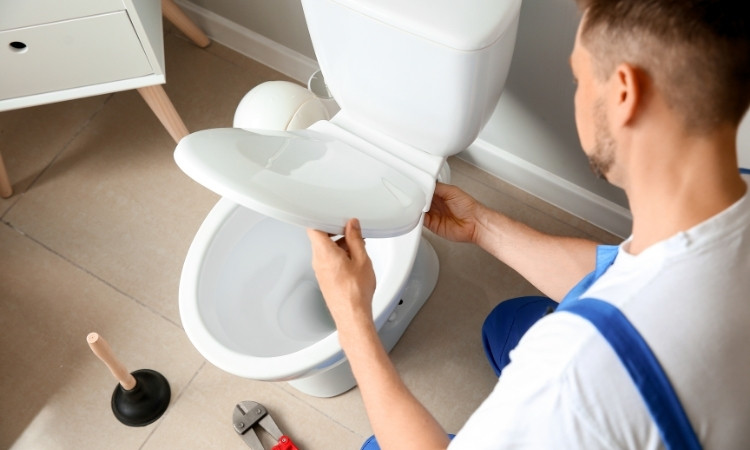
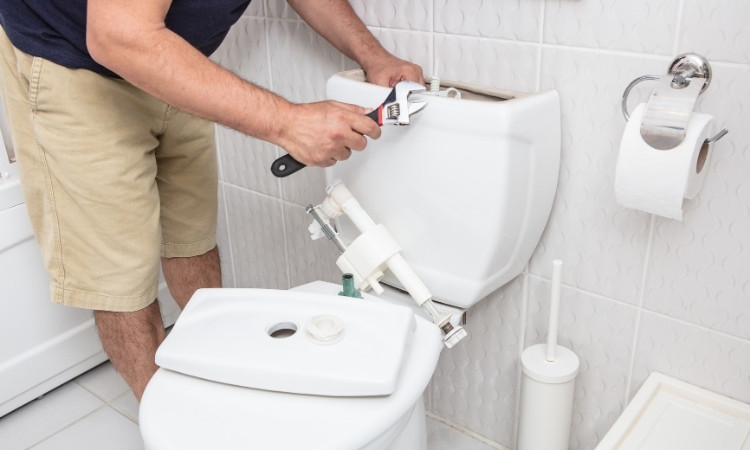
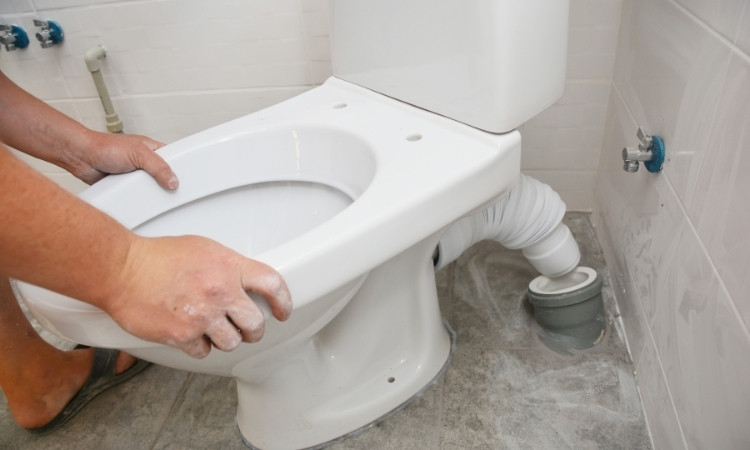
It is simple to install a toilet in Singapore with a few basic tools and guidance. A toilet is an important part of every home. A well-installed toilet works properly and prevents leaks. Installing a new toilet may seem difficult, but with the right steps, you can do it without much issue. This guide will help you install a toilet in Singapore easily. Follow each step carefully for a proper installation.
Toilet Installation in Singapore
Installing a toilet in Singapore does not have to be daunting if you have the right tools on your hands. All you need is a little understanding of the installation procedure. Therefore, PS Home Maintenance Singapore comes forth to explain the process for homeowners to adopt a DIY installation approach. Moreover, they also offer professional toilet bowl replacement, door stopper installation, and door replacement, and plumbing services in Singapore.
How to Install a Toilet in Singapore?
The following steps will illustrate the process to install a new toilet in Singapore to enhance the functionality of your bathroom.
Step 1: Tools and Materials
Before starting, make sure you have everything needed. You will need a new toilet, a wrench, a screwdriver, a wax ring, a plumber’s tape, and a bucket. Check if the water supply valve is working properly. A good setup saves time and avoids issues later.

Step 2: Remove the Old Toilet (If you are Replacing an Old Unit
Turn off the water supply. Flush the toilet to remove as much water as possible. Use a sponge to absorb the remaining water. Unscrew the nuts that are holding the toilet to the floor.
Lift the toilet carefully and keep it in a safe place. Remove the old wax ring and clean the flange. A clean surface is fundamental to creating a good seal for the new toilet.
Step 3: Install the New Wax Ring
A wax ring helps prevent leaks. Place it on the flange firmly. Afterward, ensure it is centered properly. A well-positioned wax ring blocks the water leaks effectively.
Step 4: Position the New Toilet
Lift the toilet and align it with the flange. Lower it slowly to ensure the bolts go through the right holes. Apply pressure to help the wax ring seal. This step is important to prevent leaks. Do not move the toilet after placing it down.
Step 5: Install a New Toilet
Tighten the bolts on both sides of the toilet. Do not overtighten, as it may crack the porcelain. Place caps over the bolts for a clean look. Afterward, check if the toilet is steady and does not move. If it wobbles, you should use shims to balance it.
Step 6: Attach the Water Supply
Connect the water supply line to the toilet’s tank. Use plumber’s tape to prevent leaks. Tighten the connection with a wrench. Turn on the water supply slowly. Watch for leaks. If you see a water leak, tighten the connections a little more.

Step 7: Test the Toilet
Flush the toilet a few times to check if it works well. Look for leaks around the base and water supply line. If everything looks fine, the installation is complete. This is all that it takes to install a toilet.
Step 8: Seal the Base
Apply a thin layer of caulk around the toilet’s base. This step prevents water from seeping underneath. It also helps keep the toilet steady. Let it dry before using the toilet.
Conclusion
If you follow the steps outlined above, it is easier to install a toilet in Singapore. A good installation prevents leaks and ensures a smooth flush. Always check for leaks before finishing the job. With the right tools and patience, you can install a toilet without much difficulty. A properly installed toilet keeps your bathroom clean and functional for a long time.
