
It is a good way to install a toilet rack and keep the toiletries in one place. It saves space and makes the bathroom look neat. Many types of toilet racks are available in Singapore. Some require drilling, while others use adhesive or suction cups. A well-placed rack improves storage and prevents clutter. It also helps to keep frequently used items within easy reach. This guide explains how to install a toilet rack with simple tools and easy steps.
How to Install a Toilet Rack?
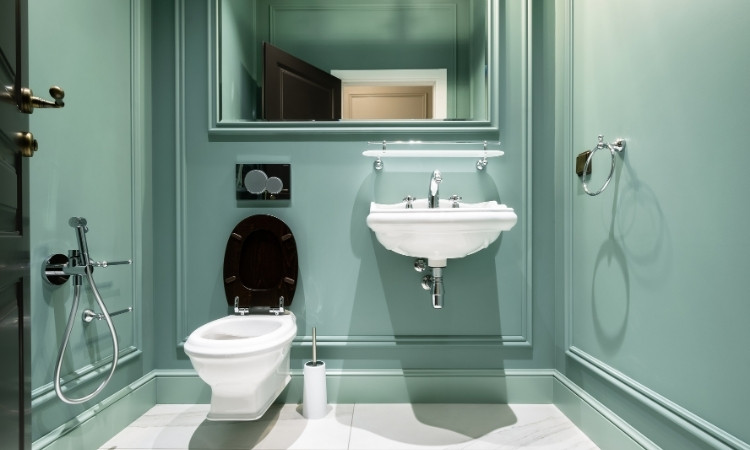
Installing a toilet rack in Singapore makes the bathroom look neat and clean. The toilet accessories will be sorted in a way that gives a perfect look. The toilet rack installation process varies depending on the type of rack. Some of the racks are installed using screws, while the others need adhesives to stick to the wall.
Let’s go through the step-by-step process to install bathroom racks, as explained by PS Home Maintenance Singapore. Moreover, if you feel unsure about the process, you can hire them for their toilet plumbing, kitchen sink replacement, and exhaust fan installation services in Singapore.
Step 1: Choose the Right Toilet Rack
Select a toilet rack that fits your bathroom space. Consider the size, material, and design. Metal racks last longer. However, if you look at the cost, plastic racks are better. Wall-mounted racks save floor space. Free-standing racks work well in bigger bathrooms. Check the weight capacity before buying.
A rack that holds heavy items must have strong support. Think about the type of items you plan to keep in the rack. Choose a rack with wide shelves if you need space for large bottles or towels. Some racks come with extra features like hooks and compartments. Choose a rack that is enough to meet your requirements.
Step 2: Gather Tools and Materials
Before you begin to install toilet racks, prepare the tools and materials. This will ease the process for you. You will need to have:
- Drill and screws (for wall-mounted racks)
- Screwdriver
- Measuring tape
- Pencil for marking
- Spirit level (to ensure alignment)
- Adhesive (for no-drill racks)
- Wall plugs (for extra support)
- Cleaning cloth (to wipe the surface)
Step 3: Measure and Mark the Position
Use measuring tape to find the right height for the rack. Mark the drill points or adhesive spots with a pencil. The rack should be within easy reach but not too low. To prevent rust or damage, avoid placing it near water sources. Consider the height of other bathroom fixtures. The rack should not block access to any useful toilet fixture.
If you are installing a multi-tier rack, ensure enough space between shelves. This prevents items from getting squeezed and falling off. Verify the marks before moving to the next step. Adjustments at this stage are easier than after installation.
Step 4: Install the Rack
For a wall-mounted rack, you will need drilling:
Drilling must be done carefully to avoid damage to pipes or electrical wiring. If you are unsure about it, consult a professional. Using the correct drill bit size ensures perfect fitting. Over-tightening screws will crack tiles and weaken the support. Drill holes at the marked spots to avoid misalignments. Here are some tips for efficient drilling.
- Insert wall plugs to hold screws firmly.
- Attach the rack with screws and tighten them with a screwdriver.
- Use a spirit level to check if the rack is balanced.
For a no-drill rack:
Some racks do not need drilling in the walls. They are attached using adhesives. A clean surface improves adhesive strength. If you are using suction cups, ensure they form a tight seal. Some adhesives require a curing period before they achieve their full strength. Placing weight on the rack too soon can cause it to detach. Clean the wall surface to remove dust or moisture. Follow these instructions while attaching a no-drill toilet rack.
- Apply adhesive as per the manufacturer’s instructions.
- Press the rack against the wall and hold for a few seconds.
- Wait for the adhesive to set before placing items on the rack.
Step 5: Secure and Test the Rack
Ensure the rack is firm by giving it a slight push. If it wobbles, tighten the screws and press the adhesive area again. Place a few light items first to test stability. If the rack starts to shift, reinforce it before adding more weight.
Regular checks help to prevent accidents. Avoid placing too much weight on a single shelf. Even sturdy racks have limits. Therefore, use the rack wisely to prevent your toilet accessories from falling.
Step 6: Organize Your Essentials
Arrange your items neatly. Avoid overloading to prevent damage. Use baskets to make a neat and clean look. Regular cleaning helps to keep the rack in good condition. Wipe the rack with a damp cloth to remove dust and water stains. Metal racks may rust over time if exposed to constant moisture.
Using an anti-rust spray can extend their lifespan. If the rack has hooks, use them for hanging small items. This keeps the shelves less cluttered. Everyday essentials should be on the most accessible shelf. Less frequently used items can be placed on higher tiers. This will make your bathroom look clean and attractive.
Conclusion
In Singapore, it is easy to install a toilet rack with the right tools and methods. A well-placed rack saves space and improves bathroom organization. A properly installed toilet rack will serve well for a long time. Following the above tips ensures a successful installation. Regular maintenance keeps the rack clean and durable. With proper care, a good toilet rack makes the bathroom look neat and functional.