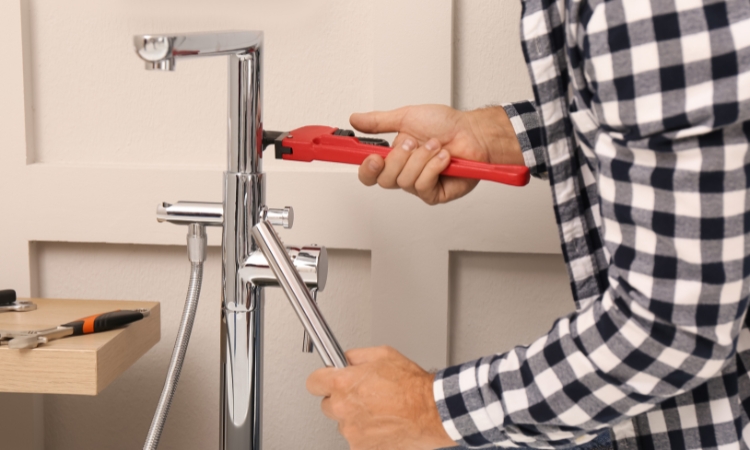
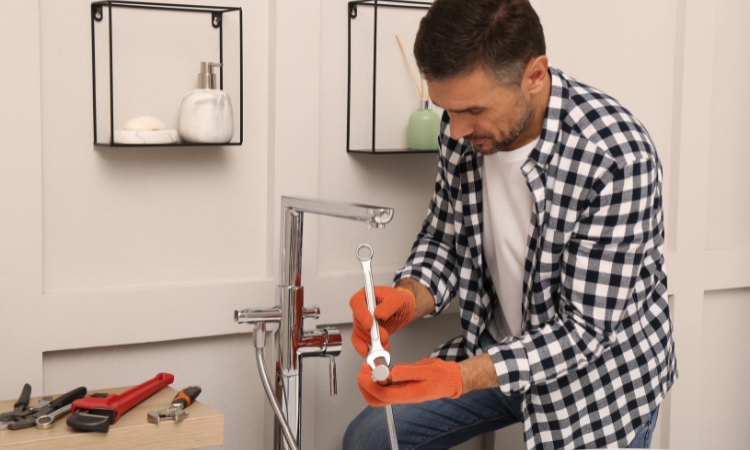
It might seem daunting to install a water tap, but with the proper knowledge and tools, it is a simple process. Many hire professional plumbers to do the job, and some homeowners adopt the DIY approach. In any case, you must have the proper knowledge about installing a water tap. Therefore, this article enlightens readers with helpful tips about the required tools and installation process.
How to Install a Water Tap in Singapore?
Installing a water tap is necessary to get water for drinking, cooking, and cleaning. You may face a situation when you need to replace the old tap or install a new one. Water tap installation is a crucial process, and if not done properly, it can lead to problems like leakage and costly water bills. Therefore, this section elaborates on the tools required to do the task, and the subsequent section explains the installation process.
Tools and Materials You Will Need
PS Home Maintenance Singapore offers kitchen sink replacement, toilet plumbing, and choke repair and suggests having the following tools and materials at hand before the installation process.
- New Water Tap
- Adjustable Wrench
- Pipe Wrench
- Plumber’s Tape (Teflon Tape)
- Bucket
- Cleaning Cloth
- Screwdriver
- Sealant or Plumber’s Putty
- Hose and Pipe Connections
Step-by-Step Guide to Install a Water Tap in Singapore
1. Turn Off the Water Supply
Before starting, turn off the water supply to the area where you will install the tap. This is usually done by closing the shut-off valves under the sink. If there are no individual shut-off valves, turn off the main water supply to your home.
Before starting any plumbing task, you should turn off the water supply valve that controls the water supply of that part of the house. Generally, the valve is under the sink. If there is no dedicated valve to control the water supply of that part, you may need to turn off the main water supply.

2. Remove the Old Tap
While replacing a water tap, use a wrench to loosen the nuts that keep the tap in place. Dismantle hoses and pipes connected to the tap. Some residual water will remain in the pipe, so a few drops of water can spill. Once you loosen the nuts, carefully lift and remove the tap from the sink.
3. Clean the Area
Before the new tap installation, ensure the area is clean and there is no dirt and debris. You can use a cleaning cloth to ensure the surface is set and ready for the new tap installation.
4. Prepare the New Tap
Bring in the new tap and apply Teflon tape to the threaded parts. This will make a water-tight seal and help you avoid leakages in the future. If the manufacturer’s guide suggests installing a gasket or washer, apply it for a better tap installation.
5. Position the Tap
Insert the brand-new tap into the allocated slot. Ensure that the tap is positioned securely with the sink. It is better to use mounting plates, washers, or gaskets between the tap and the sink to ensure a snug fit.
6. Secure the Tap
After placing the washers, tighten the nuts with your hands and use the adjustable wrench to secure them. Avoid overtightening to prevent damaging the tap or the sink.
7. Connect the Water Supply
It’s time to reattach the dismantled parts. Ensure the connections are secured tightly. If not, use a wrench to tighten them further. If needed, apply the plumber’s tape to the threads to ensure a watertight seal.
8. Turn On the Water Supply
When you complete the installation and attach the pipes, turn on the water supply, but do it slowly. Inspect the new tap for any signs of leakages around the connections. Adjust the nuts to ensure the connections are correct if there is a leak.

9. Test the Tap
Test the functionality of the tap by turning it on. Check the water flow and ensure that there are no leaks. Test for the hot and cold water functions if they are available. No leaks, no malfunctioning; you have done the installation perfectly.
10. Clean Up
Clean up the installation area for water spills and debris. Properly dispose of the old tap, clean the new one, and start using it.
Conclusion
In conclusion, every manufacturer provides installation instructions, and it becomes easy to install a water tap once you start following them. The above installation tips are based on professional experience. Gather all necessary tools and implement the installation process.
