
In Singapore, it does not have to be daunting to install LED ceiling lights. Installing LED lights can brighten up any space and reduce electricity bills. With proper planning and safety measures, homeowners can install LED ceiling lights without professional help. This guide explains the step-by-step process to ensure a successful installation and long-term functionality.
The Process to Install LED Ceiling Lights in Singapore
The importance of LED ceiling light installation has made it popular among homeowners in Singapore. Therefore, homeowners should also know about the installation procedure. Thus, PS Home Maintenance Singapore explains the process in addition to their professional ceiling repair, house rewiring, and exhaust fan repair services.
How to Install LED Ceiling Lights in Singapore?
This section is all about the process to successfully install LED ceiling lights in Singapore.
1. Gather the Necessary Tools and Materials
Before starting, prepare the required tools and materials to streamline the process. Here is a list of the essentials:
- LED ceiling light fixture
- Screwdrivers
- Drill and wall plugs
- Voltage tester
- Wire strippers
- Ladder
- Insulation tape
- Safety gloves
- Measuring tape
- Pencil for marking drill holes
2. Turn Off the Power Supply
When you have prepared all the tools, switch off the power from the circuit breaker to avoid electrical shocks. Use a voltage tester on the existing wiring to confirm that no electricity is flowing. This step is crucial for safety and should never be skipped. Moreover, inform household members not to turn the power on while the installation is in progress.
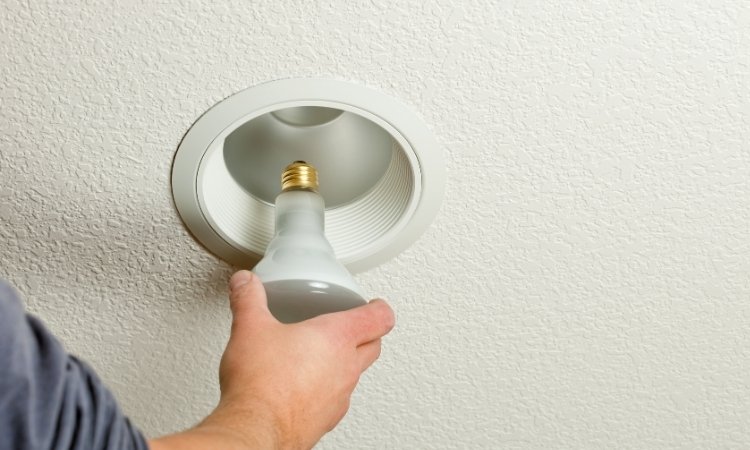
3. Remove the Existing Light Fixture
If you are replacing an old ceiling light, carefully remove it by unscrewing the fixture and disconnecting the wires. Support the fixture with one hand and lose the screws. Take note of the wire connections, as the new LED light will be connected similarly.
If you have a smartphone, take clear snaps to watch a guide for installing the new LED lights. If the mounting bracket differs from the one required for the new fixture, remove it and install the provided bracket with the LED light.
4. Connect the Wiring
Identify the wires to have a clear understanding of the connection. Here is a guide:
- The live wire is usually red or brown.
- The neutral wire is normally black or blue.
- If the earth wire is there, it is either green or yellow-green.
Strip the wire ends if necessary, then connect them to the corresponding terminals on the LED light fixture. Secure each connection with screws and wrap them with insulation tape for safety. If using a connector block, ensure all wires are tightly clamped to avoid loose connections. If the connections are loose, it can cause flickering or power issues.
5. Install LED Ceiling Lights
Position the LED fixture on the ceiling and align it with the mounting holes. Use a drill if additional holes are needed for screws. Secure the fixture firmly. Moreover, ensure that it is level and does not wobble. Some fixtures also come with clips for easier mounting. It is crucial to verify that the light is stable before proceeding to prevent any accidents in the future.
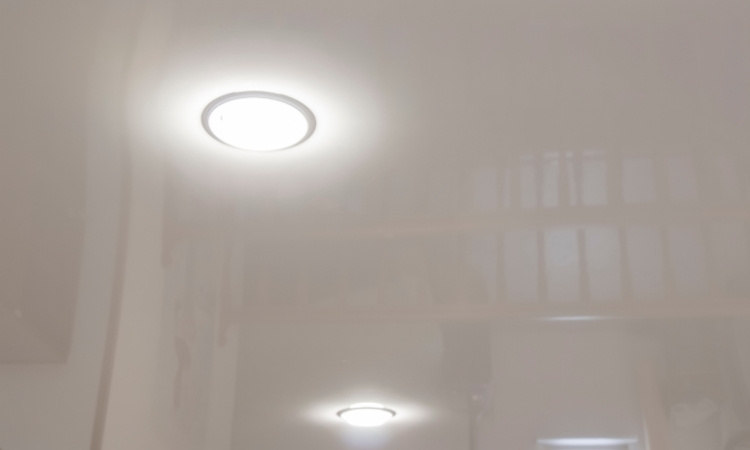
6. Restore Power and Test the Light
Turn the power back on at the circuit breaker. Switch on the LED light to test if it works properly. When it does not turn on, verify the wiring connections. If flickering occurs, ensure the wires are tightly secured, and the fixture is correctly mounted. If problems persist, consult the manufacturer’s manual or seek professional assistance.
7. Maintain the LED Ceiling Light
Proper maintenance extends the lifespan of LED lights and ensures consistent brightness. Keeping an eye on early signs of malfunction can prevent larger electrical issues. Here are some tips to maintain the LED ceiling lights in good condition:
- Clean them regularly to remove dust and dirt using a dry or slightly damp cloth
- Avoid direct water contact when cleaning
- Periodically check for loose connections
- Replace faulty components promptly to prevent further damage
- Ensure proper ventilation around the fixture to avoid overheating.
Conclusion
It is a simple process to install LED ceiling lights in Singapore’s homes. A well-installed LED light enhances room brightness using an optimum quantum of energy. Homeowners can enjoy long-lasting and efficient lighting by taking care of LED fixtures.