It is an exciting yet challenging task to paint a room. You can transform a space by painting the room. While most people do not have a problem hiring a painting company, being able to do the job yourself is satisfying and an affordable option. All you require is the right tools and techniques, and you will get professional results. This guide will walk you through the process, from preparation to the finishing touches.
How to Paint a Room?
Painting rooms is fun if you have leisure time and want to challenge your painting skills. You need some basic painting tools and proper knowledge to get going with the task. However, if you want a professional room painting service in Singapore, PS Home Maintenance is the best choice as they offer a plethora of services like HDB painting, house painting, and false ceiling installation services office, etc. Here is a guide they provide to DIY enthusiasts.
Preparation
Preparation is key before you start to paint a room. The initial step is to select the paint for the room you’re painting. Be sure to consider the type of room you are painting since the bathroom and kitchen will need different kinds of paint compared to the bedroom, for instance. Bathrooms and kitchens might call for moisture-resistant paints.

Gather the Tools and Materials
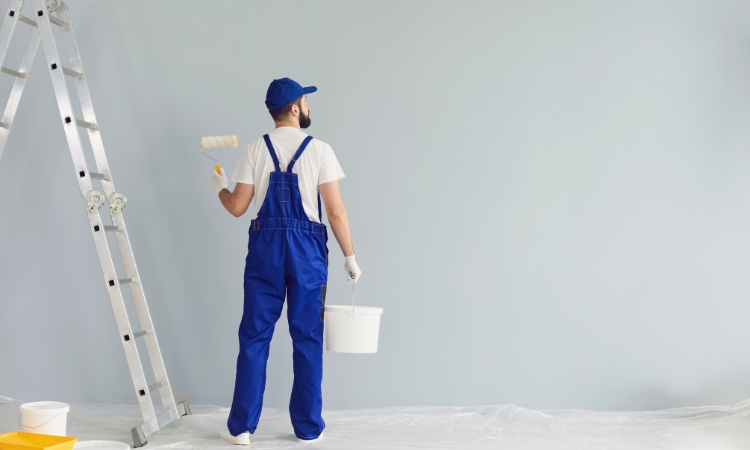
Remember to collect the necessary materials for the task, like paint, primer, brushes, rollers, painter’s tape, drop cloths, a paint tray, and a ladder or step stool. Remove as many items as possible from the room. The rest of the furniture and floor must be well covered using drop cloths to prevent splatters from paint on them.
Clean the Walls
Appropriate cleaning of walls removes dirt, grease, and other impurities caused by dust from the walls, leaving adequate spacing to achieve efficient paint adhesion. Fill holes or cracks and spread with spackle; smooth the area when dry. Use that blue painter’s tape to protect those areas you don’t want to paint: trims, windows, and door frames.
Priming
Priming walls must never be skipped; it serve an essential purpose. Primers provide a good base on which paint can hold and cover all the existing blemishes on walls. Apply one coat of primer to the walls and painting, and let this completely dry before moving on to the next step.
Painting
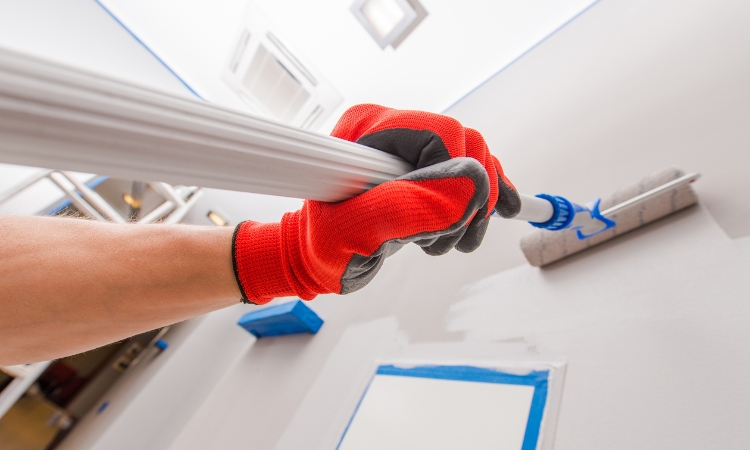
So, now it is time for the fun part of the day: the painting process! Start by cutting in, which involves painting all room edges with a brush. This involves corners, baseboards, around windows, and doors. Once you’ve finished cutting in, roll the paint onto your primary area of the wall.
Paint using a ‘W’ shape to ensure even coats. After the first coat is applied and has dried, apply a second coat to achieve a more uniform finish. Check the walls for missed spots and drips, and touch them up with a brush.

Finishing Up
Now that you have finished painting, it is high time you cleaned up so you can see and enjoy the beauty of your newly painted room. Gently tear off the used masking tape while the paint is still wet enough not to strip.
Clean the brushes and rollers properly so you can use them again for your next project. Now that your painting is dried, you should return your furniture to the room and replace any fixtures or decorations removed prior to painting.
Conclusion
In conclusion, it is easy to paint a room using a DIY approach. A good painting is a room as fine as one with a professional touch if done appropriately with all the preparations, patience, and techniques. This produces a finish very similar to that of a pro. You can impart an utterly fresh look in your favorite room, whether it’s your bedroom or kitchen. Just take your time and enjoy the process.
