Replace a window handle using the tips explained in this article. Maintaining functional windows is crucial for ensuring proper ventilation, security, and aesthetics in your home. One of the common issues homeowners face is a malfunctioning or damaged window handle. However, replacing a window handle can be a manageable task with the right tools and guidance.
In this comprehensive guide, we’ll walk you through a step-by-step process on how to replace a window handle in Singapore. By following these instructions, you can restore the functionality and appearance of your windows effectively.
Window Handle Replacement Singapore
Replacing a window handle in Singapore is a dicey but doable DIY job. You can do it with some basic tools and proper guidance. This section includes PS Home Maintenance Singapore’s instruction set to replace a window handle. Scroll through the process and enjoy the success!
Step 1: Identify the Type of Window Handle
Before beginning the replacement process, it’s essential to identify the type of window handle you have. Common types include crank handles for casement windows and sliding handles for sliding windows. Knowing the type of handle will help you choose the right replacement and ensure a proper fit.
Step 2: Gather Necessary Tools and Materials
To replace a window handle, gather the following tools and materials:
- New window handle (compatible with your window type)
- Screwdriver (flathead or Phillips, depending on the screws)
- Lubricant (silicone spray or lubricating oil)
- Safety gloves (optional but recommended for handling sharp edges)
- Pliers (for certain handle types)
Having these items ready will make the replacement process smoother and more efficient.

Step 3: Remove the Old Window Handle
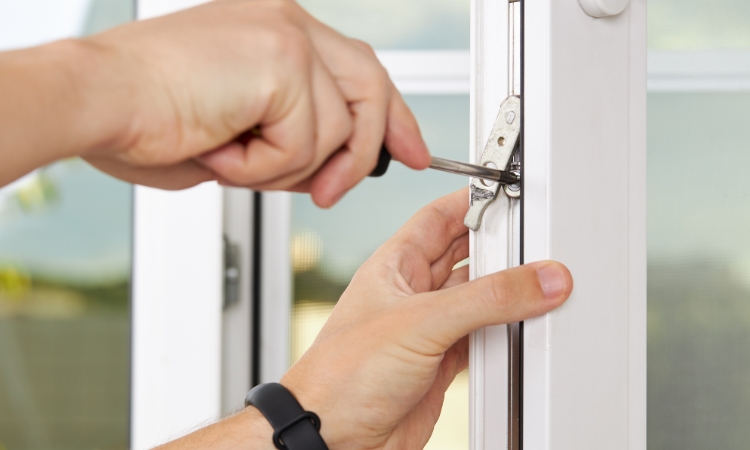
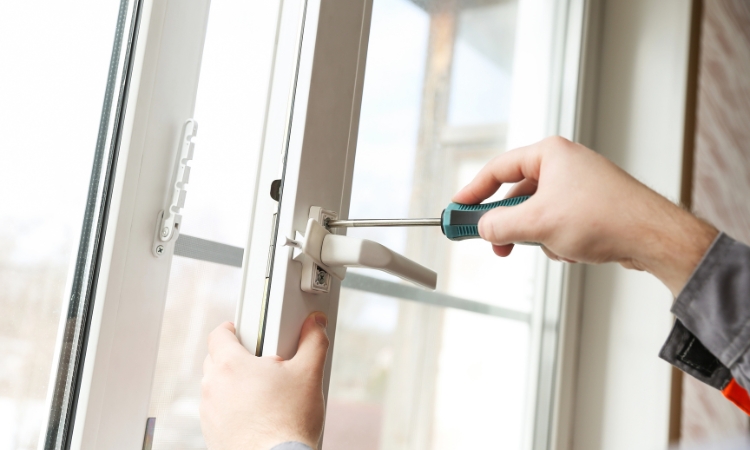
Start by opening the window to access the handle easily. Use a screwdriver to remove the screws holding the old handle in place carefully. Keep the screws in a safe place, as you’ll need them for installing the new handle.
Once the screws are removed, gently detach the old handle from the window frame. In some cases, you may need to use pliers to remove stubborn handles.
Step 4: Prepare the New Window Handle
Before installing the new handle:
- Ensure it is compatible with your window type and size.
- Check for any included instructions or guidelines provided by the manufacturer.
- Apply a small amount of lubricant to the moving parts of the new handle to ensure smooth operation.
Step 5: Install the New Window Handle/ Replace a Window Handle
Position the new handle in place on the window frame, aligning it with the existing screw holes. Use the screws removed from the old handle to secure the new handle in place. Begin by loosely tightening the screws, then adjust the handle to ensure proper alignment before fully tightening the screws securely. Avoid over-tightening, as it can damage the handle or window frame.
Step 6: Test the Window Handle
After installing the new handle:
- Test its functionality by opening and closing the window.
- Ensure the handle operates smoothly and securely locks the window in place.
- Check for stiffness or resistance in the handle’s movement and adjust it as needed to achieve optimal functionality.
Step 7: Check for Tightness and Security
Inspect the screws and handle to ensure they are securely tightened and properly aligned with the window frame. A loose handle can lead to issues with window operation and security. Tighten any loose screws and retest the handle’s functionality to ensure it operates smoothly and securely.

Step 8: Clean Up and Dispose of Old Handle
Dispose of the old window handle properly, following local waste disposal guidelines. Clean up any debris or leftover materials from the replacement process to maintain a neat and tidy work area.
Step 9: Maintain Regularly
To prolong the life of your new window handle:
- Perform regular maintenance.
- Lubricate the moving parts periodically with silicone spray or lubricating oil to prevent stiffness and ensure smooth operation.
- Inspect the handle and screws for any signs of wear or damage and address any issues promptly to prevent further problems.
Step 10: Seek Professional Help if Needed
If you need help with replacing the window handle yourself, consider seeking professional help. Experienced technicians can assist with proper installation and ensure optimal functionality and security for your windows.
Conclusion
It is a manageable DIY task to replace a window handle that can improve the functionality and appearance of your windows. By following this step-by-step guide and using the right tools, homeowners in Singapore can confidently replace window handles and maintain well-functioning windows. Regular maintenance and timely replacements contribute to a comfortable and secure living environment, enhancing the overall quality of your home.
