TV wall mount installation has become highly popular as it offers a beautiful, space-saving solution for displaying televisions. However, improper installation can result in safety hazards and damage to the TV and the wall. Following a step-by-step guide is essential to ensure a successful and long-term installation. Several factors depend on personal choices, and this comprehensive article provides the following:
- Detailed general instructions for mounting a TV on a wall.
- Covering pre-installation preparation.
- Locating wall studs.
- Attaching the wall plate.
- Mounting the TV.
- Cable management.
- Final adjustments.
- Testing.
How to Wall Mount a TV?
The TV wall mounting process involves some basic steps that need much attention because it has been installed for a long time. Wall mounting your TV also needs proper positioning; otherwise, you must change the position occasionally. Here are the steps that explain the TV wall mounting procedure:
Pre-Installation Preparation
TV wall mount installation starts with the pre-installation preparations. Several preparatory steps are due before beginning the installation process to ensure a smooth and successful outcome. Firstly, selecting the suitable TV mounting is crucial, considering factors such as size, weight, and desired features such as tilt and swivel. Determining the mounting location is essential to optimize viewing angles and minimize glare. Gathering the necessary tools and materials is critical to every procedure. Here is the list of some essentials:
- A stud finder
- Level,
- drill,
- Screws
- Screwdriver
- Cables and cords
2. Locate Wall Studs
Wall mounting your TV requires attaching the wall mount to wall studs rather than just the drywall. Position the studs behind the drywall using a stud finder in the chosen mounting location. Mark the stud locations accurately to ensure precise placement of the wall plate. It is advisable to double-check the stud locations to avoid errors during installation. By mounting the TV to studs, you ensure sturdy support and reduce the risk of accidents or damage to the wall and TV over time.
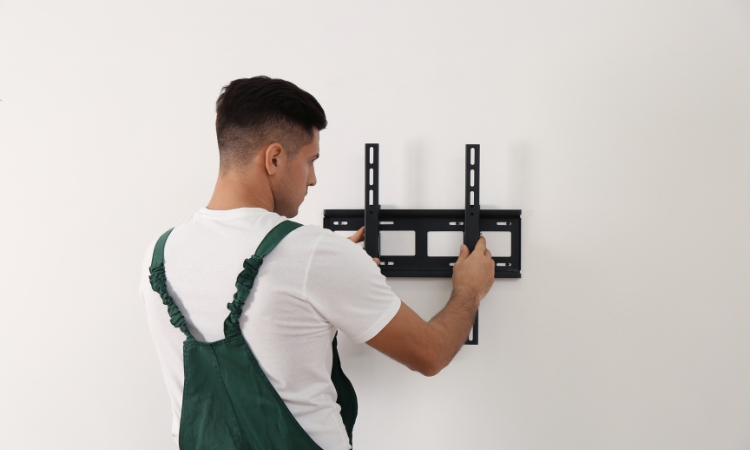
3. Install Wall Plate
Once the wall studs have been located, the next step is to install the wall plate. Position the wall plate at the desired height and align it with the marked stud locations. Use a level to ensure that the wall plate is straight before marking the screw hole positions on the wall. Drill pilot holes into the studs at the marked positions and safely attach the wall plate using screws provided with the mount. Proper wall plate installation is crucial as it forms the foundation for secure wall mounting your TV.
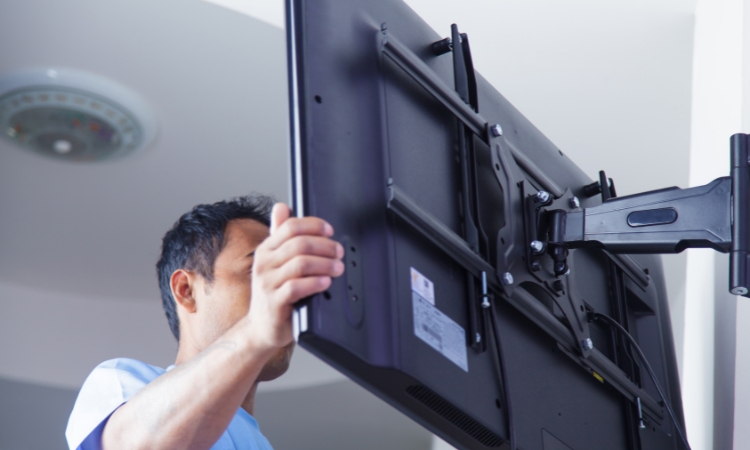
4. Attach Mounting Brackets to the TV
TV Wall Mount Installation Service Singapore suggests that with the wall plate securely installed, the next step is to attach the mounting brackets to the back of the TV. If the TV has a stand, it should be removed and facing down on a soft surface to avoid damage. You need to follow the manufacturer’s instructions to attach the mounting brackets using the screws provided with the mount. Ensuring that the brackets are strongly connected to the TV is essential to prevent any accidents or damage during mounting.
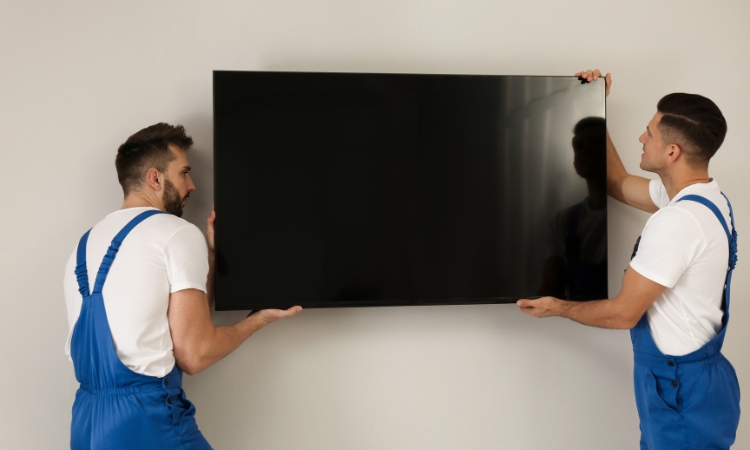
5. TV Wall Mounting
In this step, you will need the assistance of a second person to lift and hold the TV in position while you align the mounting brackets with the wall plate. Carefully slide the TV onto the wall plate, ensuring it fits securely. Cross-check the alignment and level of the TV before releasing it. Proper TV wall mount installation is crucial to prevent it from falling or shifting over time, which could damage the TV and possible safety hazards.
6. Cable Management
Once the TV mounting is securely achieved, the next crucial part is the cable management to ensure a neat appearance. Route cables and cords through the mount’s cable management channels or use cable ties to secure them along the wall. Moreover, cable management cords and disks are also available for this purpose. Connect the cables to the suitable ports on the TV and any external devices, such as cable boxes or gaming consoles. Proper cable management improves the aesthetics of the installation and prevents tripping hazards and potential damage to the cables.
7. Final Adjustments
After mounting the TV and managing the cables, TV Wall Mount Installation Service Singapore suggests making final adjustments to ensure an optimal viewing experience. Use a level to ensure that the TV is perfectly horizontal, and make any essential adjustments to the tilt or swivel angles to minimize glare and achieve the desired viewing position. Secure any loose screws and verify the tightness of all connections to prevent the TV from shifting or falling over time.
8. Testing
Once the installation is complete and everything is aligned, testing the TV to ensure it functions correctly is essential. Power on the TV and check if all connections are working perfectly. Test different viewing angles to ensure no glare or distortion affects the picture quality. Furthermore, check for any signs of stress or instability in the mount and make adjustments if necessary to provide the safety and longevity of the installation.
Conclusion
In conclusion, TV wall mount installation requires careful planning, precise execution, and attention to detail. Following the step-by-step guide outlined in this article, homeowners can successfully install a TV wall mount and enjoy a space-saving and thrilling entertainment solution. Proper installation enhances the room’s aesthetics and ensures the safety and functionality of the TV installation for years to come. Follow the manufacturer’s guidelines, and contact a professional to complete the process in case of any issues.